
Linking 101
Linking is a niche but crucial role in the process of knitwear production. It is a skill that is quickly learned but slowly mastered, and one that is much more prevalent in offshore contexts. Finding linkers in Australia can be a challenge.
Limited access to this role has major flow on effects for the industry, impacting Australia’s competitive capacity in design and innovation globally.
With the support of the George Alexander Foundation and the International Specialised Skills Institute, Hatch and Make set out to improve our local skills in this area, and share those learnings for the benefit of design partners, and those out there seeking to learn more about commercial production of fully fashioned knitwear.
Below are a series of 6 short tutorial videos and notes that serve as a beginner’s introduction to linking. We’ll cover general information and basic linking techniques, as well as some key troubleshooting for when things go awry.


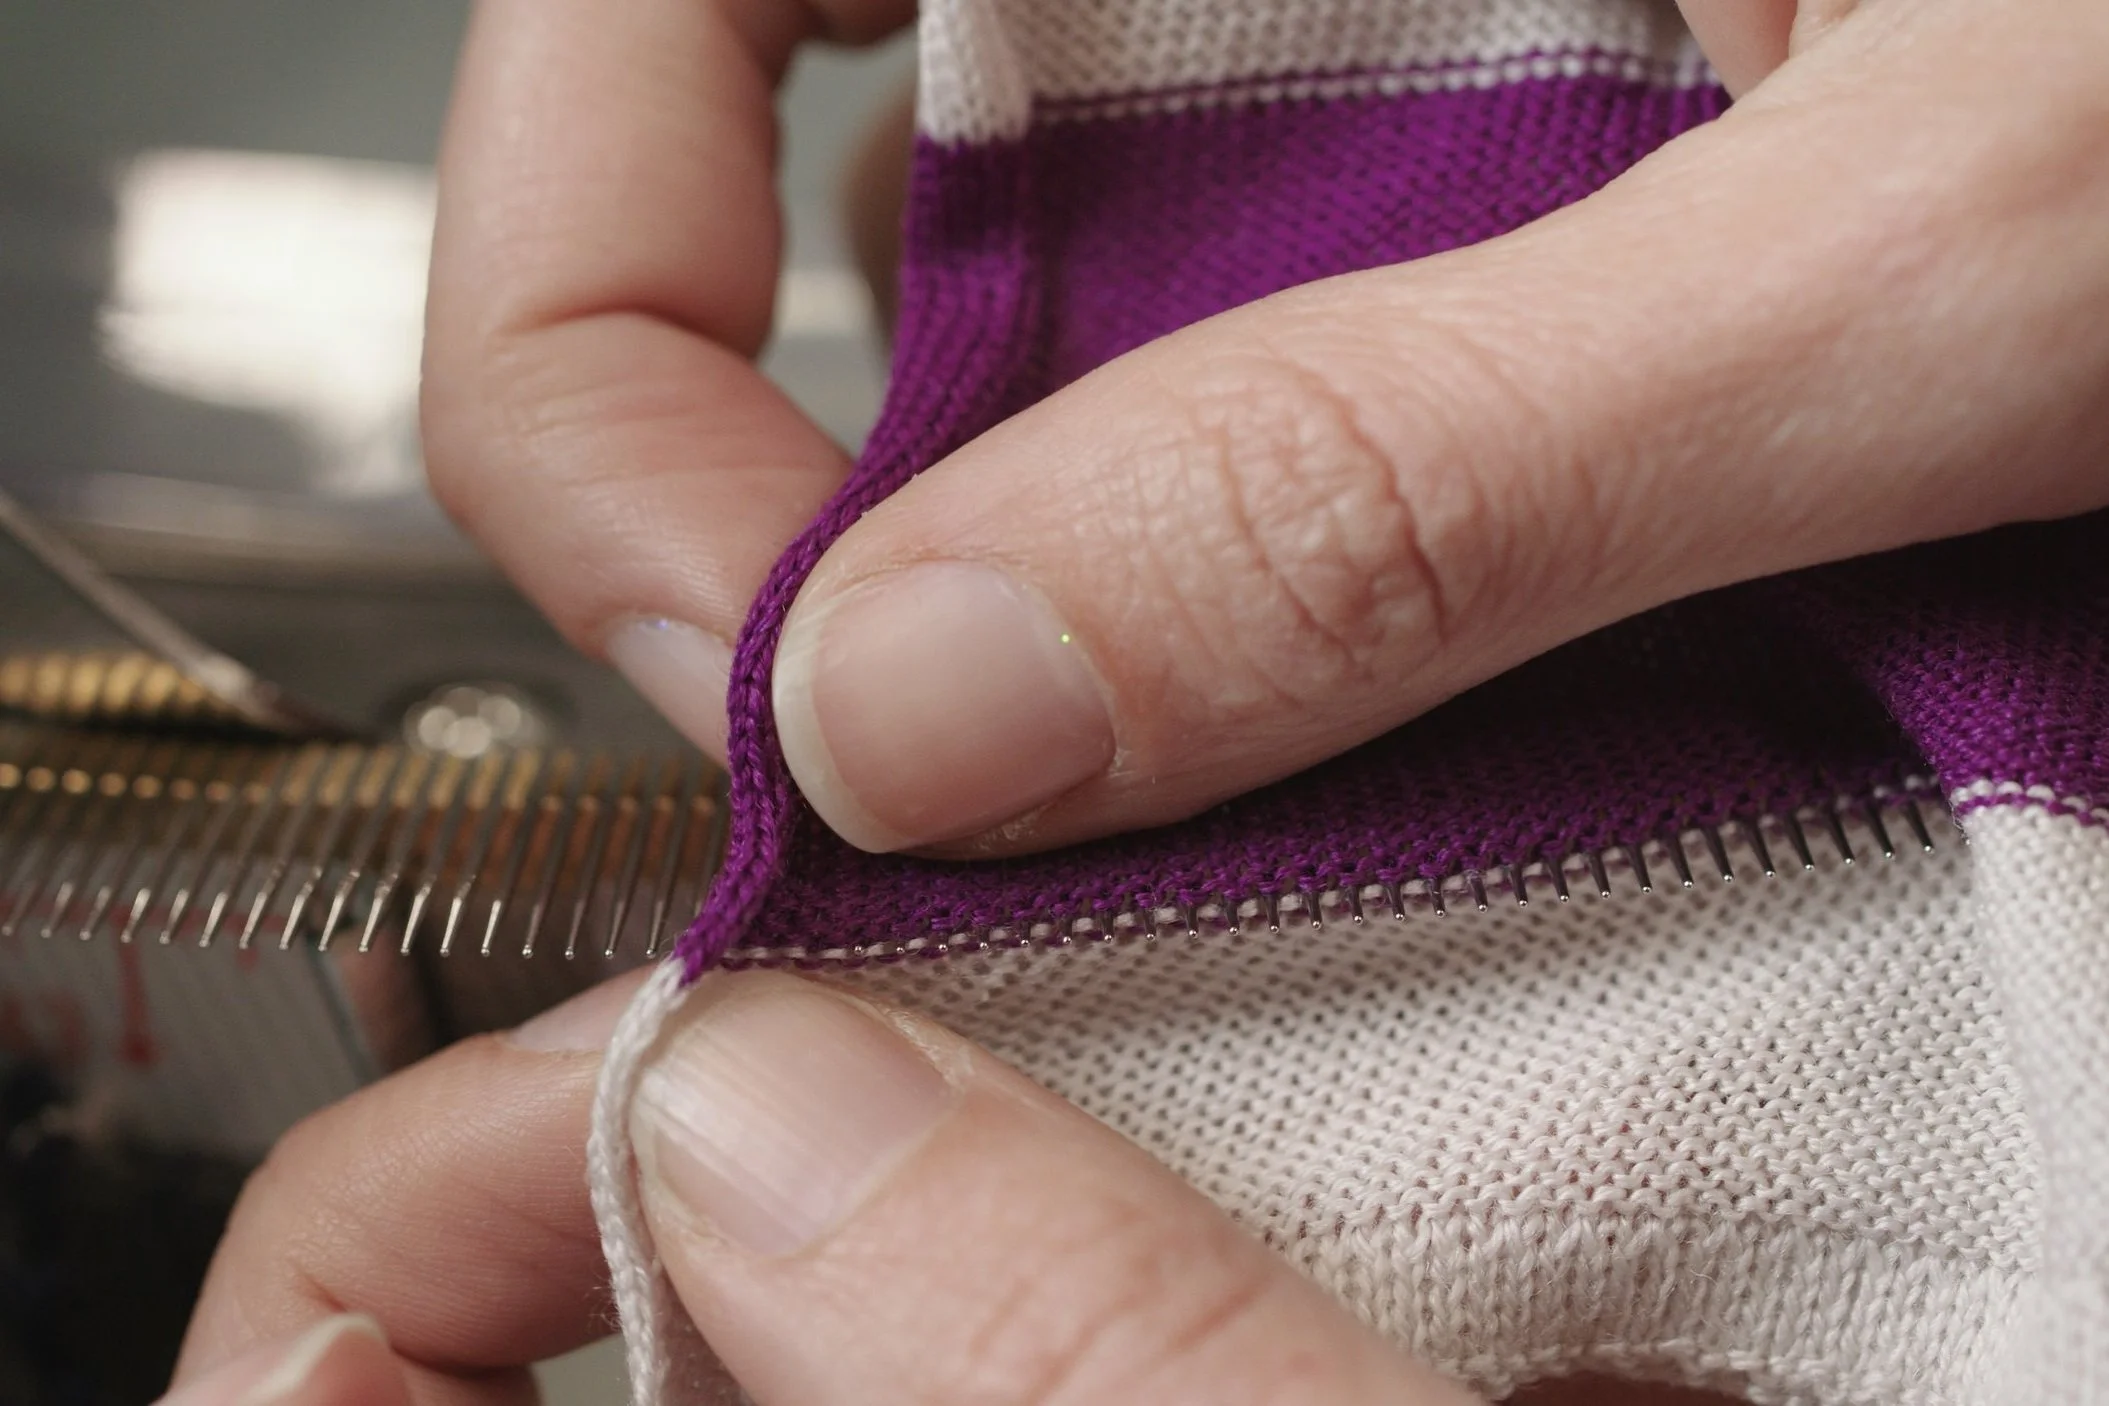
101.1 Getting Started
General information about linkers, machine set up and trim preparation.
101.2 Basic sandwich trim
The sandwich trim is a single jersey (SJ) strip folded over the fabric that needs to be trimmed. It looks tubular once it’s linked on. It’s made with open loops on both sides and requires point to point linking. Typically we see this as a technique to trim the neck of a garment

101.3 Open loop rib trim
This rib trim is a strip of 2x2 rib with open loops on both sides that require point to point linking. The rib is folded over the fabric that needs to be trimmed. It looks like a rib tube once it’s linked on. Typically we see this as a technique to trim the neck of a garment. Similar to the sandwich trim but takes a bit more time and effort due to the rib structure.

101.4 Rib trim with cast on
This rib trim is a strip of 2x2 rib with open loops on just one side that requires point to point linking. The other side has been cast on, which is a bit more flexible in terms of placement on the linker. It’s a bit of a faster and simpler version of the rib trim with two open sides, which ultimately means a less expensive method.
The rib is folded over the fabric that needs to be trimmed. The cast on side of the trim will lay on the inside of the garment, with the point to point on the outside of the fabric.

101.5 Rib trim with tubular
This is a single layer rib trim attached by way of a tubular. Typically a very small tube but the tubular in this example is quite wide, so it’s easier to demonstrate and see what’s going on. The main detail here is that it’s a rib trim, finished with a couple of rows of single jersey. This makes it much simpler to get onto the linker and therefore typically a faster process.

101.6 Partial garment
Now we’re looking at the rest of the garment, the seams that are typically assembled on a linker. There are multiple ways for this to work depending on the shape of the garment, the type of linker you’re working with and the preferences of the client.